Mastering the Art of Searing Steak: A 5 Step-by-Step Guide to Restaurant-Quality Results
Craving a perfectly seared steak with a golden-brown crust and a juicy, tender interior? Mastering the art of searing isn’t just for chefs – it’s a skill anyone can learn. In this comprehensive guide, we’ll break down the science, tools, and techniques to help you achieve restaurant-quality results at home. Whether you’re cooking for a special occasion or a weeknight dinner, these tips will transform your steak from ordinary to extraordinary.
Table of Contents
Why Searing Steak Matters
Searing Steak isn’t just about aesthetics – it’s the key to unlocking deep, caramelized flavor through the Maillard reaction, the chemical process that creates those coveted browned bits. A perfect sear ensures a crisp exterior while locking in juices, giving you a steak that’s tender, flavorful, and visually stunning.
But many home cooks struggle with uneven browning, dry meat, or undercooked centers. Don’t worry—we’ve got you covered. This guide will walk you through every step, from selecting the right cut to resting your steak like a pro.
Step 1: Choose the Right Cut of Steak
Not all steaks are created equal when it comes to searing. Thick cuts with high fat content (like ribeye or strip steak) are ideal because they retain moisture and develop a rich crust. Here’s a quick cheat sheet:
| Steak Type | Best For | Ideal Doneness |
|---|---|---|
| Ribeye | Rich marbling and bold flavor | Medium-rare |
| Strip Steak | Balanced flavor and tenderness | Medium |
| Filet Mignon | Silky texture | Medium-well |
| Sirloin | Budget-friendly option | Medium |
Pro Tip: Avoid thin cuts (like skirt steak) unless you’re planning to slice them thinly after cooking.
Step 2: Prep Your Steak Like a Pro
Preparation is everything. Follow these steps to set yourself up for success:
- Bring It to Room Temperature
Remove your steak from the fridge 30–45 minutes before cooking. Cold meat cools the pan, leading to uneven browning. - Season Generously
Use kosher salt and freshly ground black pepper as your base. For extra depth, try garlic powder, dried thyme, or smoked paprika. - Pat Dry with Paper Towels
Moisture is your enemy here. Wipe the steak thoroughly to ensure a crisp crust.
Science Break: When moisture hits a hot pan, it creates steam, which prevents proper browning.
Step 3: Heat Your Pan (The Smoky Secret)
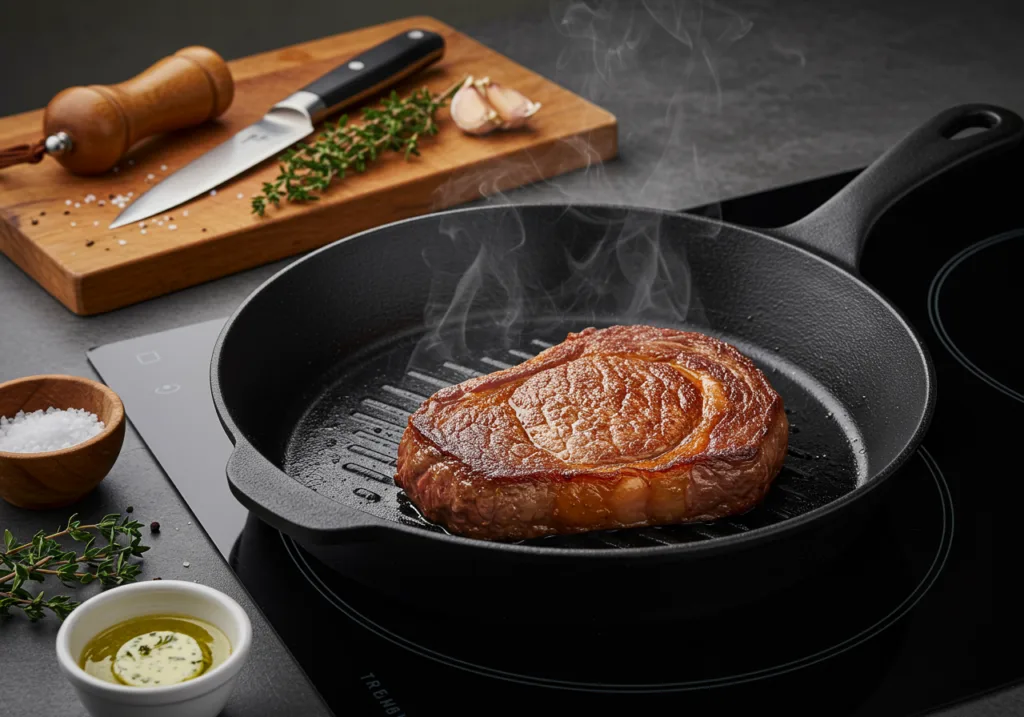
A screaming-hot pan is non-negotiable. Here’s how to get it right:
- Use a Heavy-Bottomed Pan: Cast iron or stainless steel skillets retain heat best. Avoid nonstick pans—they can’t handle extreme heat.
- Add Oil with a High Smoke Point: Opt for avocado oil, grapeseed oil, or clarified butter (smoke point: 500°F+).
- Test the Heat: Tilt the pan—if the oil shimmers and ripples, it’s ready. If it starts smoking heavily, reduce the heat slightly.
Pro Tip: Let the oil smoke for 10–15 seconds before adding the steak. That’s your cue that the pan is hot enough.


Step 4: Sear to Perfection
Now comes the fun part!
- Place the Steak in the Pan
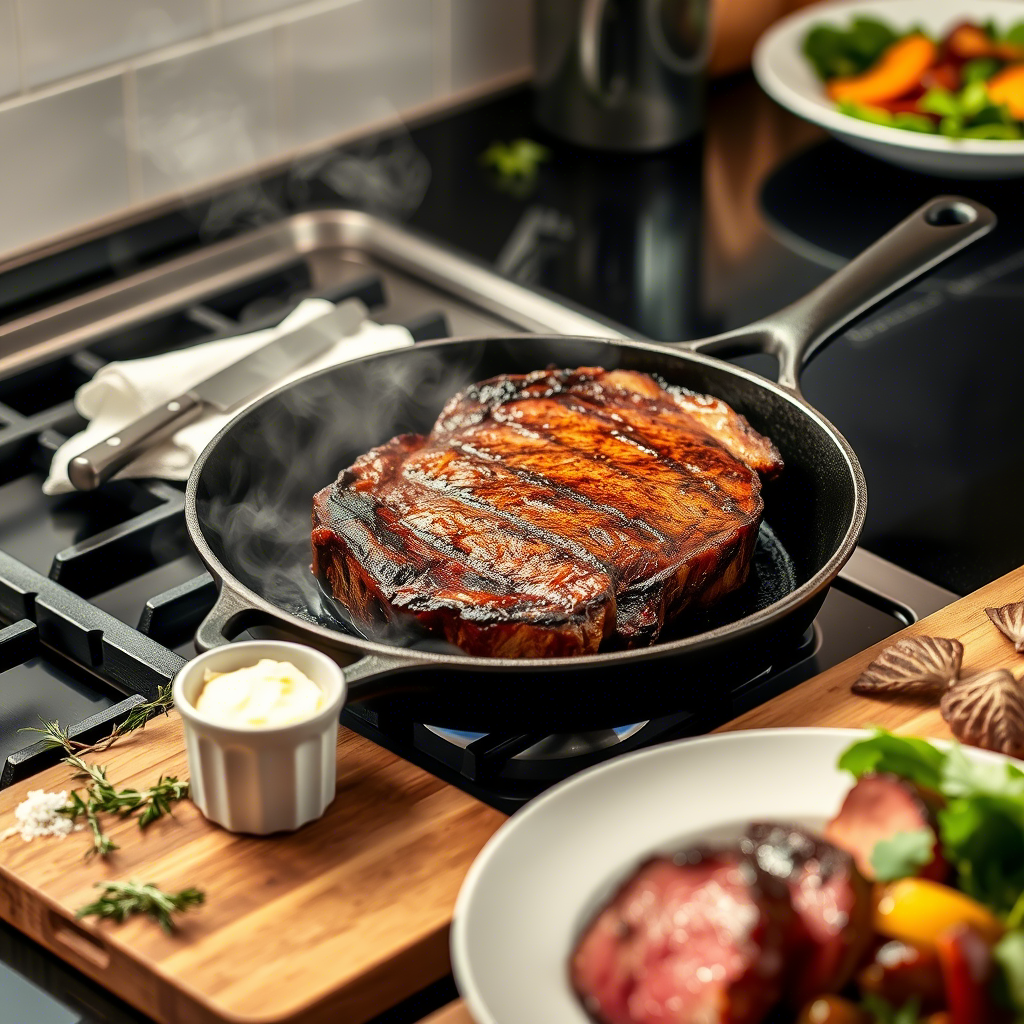
Use tongs to avoid puncturing the meat. Listen for that satisfying sizzle —this means you’re on the right track. - Don’t Move It!
Resist the urge to flip or prod. Let the steak cook undisturbed for 2–3 minutes per side for medium-rare (adjust based on thickness). - Baste with Butter for Flavor
In the final minute, add a pat of butter to the pan. As it melts, spoon it over the steak for richness. For an extra kick, add minced garlic or fresh rosemary.
Common Mistake: Flipping too often ruins the crust. Stick to 2 flips max .
Step 5: Rest and Slice
Resting is where magic happens.
- Tent with Foil
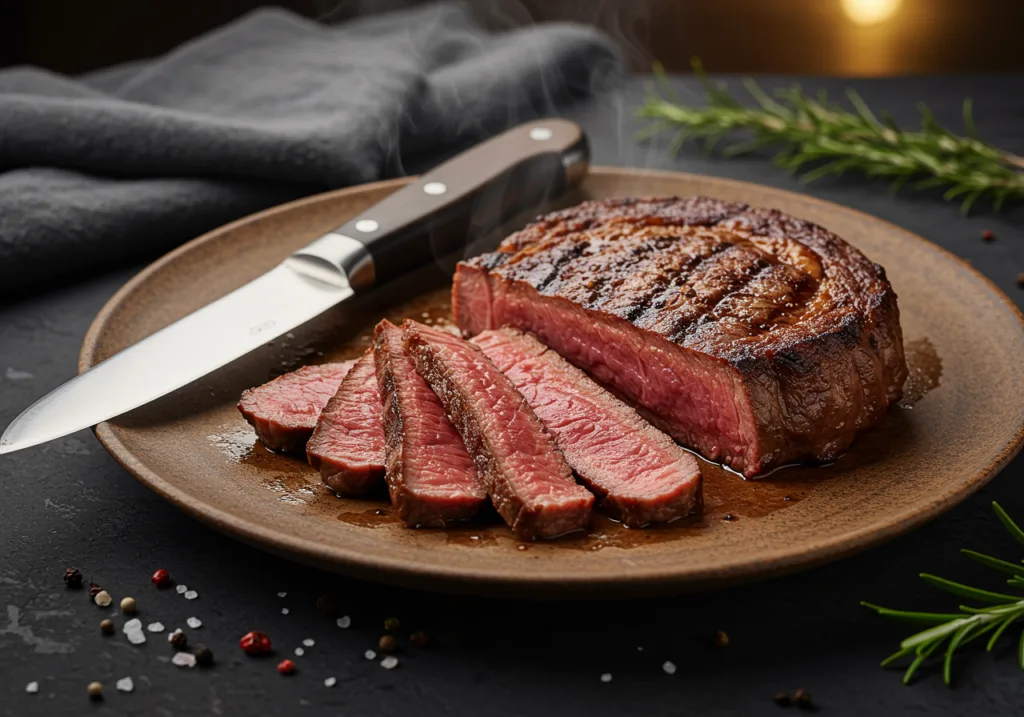
Transfer the steak to a plate and loosely cover it with foil. Let it rest for 5–10 minutes . This allows juices to redistribute, preventing dryness. - Slice Against the Grain
Use a sharp knife to cut perpendicular to the grain for tender bites.
Visual Cue: The steak should release easily from the pan when it’s ready to flip.


FAQs About Searing Steak
Q: Can I sear frozen steak?
A: No! Frozen meat releases moisture, preventing proper browning. Thaw it completely first.
Q: What if my steak sticks to the pan?
A: Wait it out! It’ll release naturally once seared. Forcing it = torn steak.
Q: Should I use a broiler instead?
A: Broiling can work for thinner cuts, but it doesn’t create the same crust as stovetop searing.
Q: How do I fix an overcooked steak?
A: Unfortunately, you can’t uncook it. But slicing thinly and serving with a sauce helps mask dryness.
Advanced Tips for Perfect Searing
- Try a Reverse-Sear Technique: Sear first, then finish in a low oven for precise doneness.
- Use a Meat Thermometer: Insert it into the thickest part of the steak. Target temps:
- Rare: 120–125°F
- Medium-rare: 130–135°F
- Medium: 140–145°F
What to Serve with Searred Steak
- Sides: Garlic mashed potatoes, roasted vegetables, or a green salad.
- Sauces: Chimichurri, béarnaise, or a simple pan sauce (deglaze the skillet with wine or broth!).
Final Thoughts
Mastering the sear takes practice, but the payoff is worth it. With patience and these tips, you’ll soon be churning out restaurant-quality steaks at home. Ready to impress your dinner guests? Fire up that skillet and get sizzling!
Got questions or tricks to share? We will be happy to hear from you.

